What Exactly are Product Wireframes?
For those of you new to the product management world, you may have heard the term product wireframes a few times in casual conversations. The idea isn’t really that complicated, but the process of creating product wireframes is essential (and pretty easy, too). A product wireframe is simply a rough sketch of the thing that you hope to build. It could be a new feature, a redesign, or a completely new product / business venture. No matter what the thing you’re building, however, you should always start with a very rough product wireframe.
Step 1: Start the Product Wireframes
Remember the old KISS idiom (Keep it simple, stupid)? Remember that as you’re wireframe-ing a product. Literally grab a piece of paper, or grab a free whiteboard at work. Draw out the think that you envision, and think through all of the user scenarios that you can think of while you work. I like to limit myself to 15 minutes – mainly because I don’t want my product wireframes to get too granular just yet (and you are, after all, only on the first of many steps of the design process). After you’ve drawn out the feature as you see it, grab someone close to the product that you’re working on and talk through it. They’ll inevitably have some items to add, which is perfect – because product development is an iterative cycle, and the more minds applied, the better (Within reason, however. There is, in my opinion, a certain attrition to the usefulness of insider feedback). After you’ve completed your 15 minute session, and grabbed a companion to vet out your rough concept, take a few photos of your drawings – and now sleep on it, and revisit the wireframes once more before you finalize the rough concept.
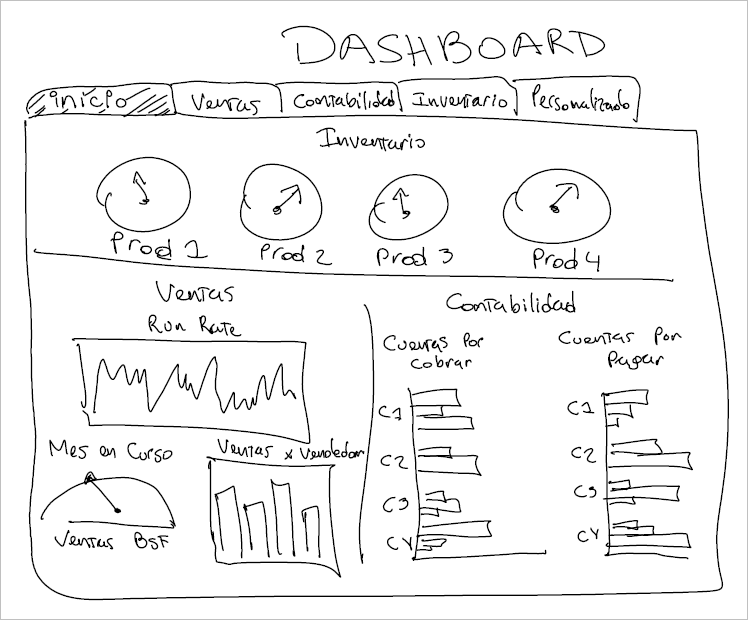
Sample Pencil Paper Product Wireframes
Step 2: Gather the Stakeholders
If you’re building a feature or a new product, there are usually other people involved. At this point in the game, I like to gather the troops and make sure that there are no other opinions that may have been missed in your independent brainstorming session with your other product buddy. It’s important that you invite anyone to this meeting that may have some kind of final say in the way that this feature or product is developed. Getting their feedback and buy in early in the design process is hugely important. Knowing everyone’s must haves as soon as possible will lead to a more complete feature, saving everyone time and money. For some companies this may include your CEO, CTO, PMs, Sales, other teams that might be a part of an integration, etc. Keep this meeting very high level, and frame it as a discovery meeting. If you want, you can show them the photos of your beautiful drawings, but it’s not mandatory. That step is more to help you gather your thoughts before you meet with the others.
Step 3: It’s Time for Product Specs
Take the information that you just gathered, and make sure that you’re collecting all of the information somewhere. I prefer confluence for my product specs, mainly because it’s simple, easy to use, and it integrates nicely with JIRA, a software product management platform. If confluence seems like too much extra work for you at this stage of the game, just use your Mac Notes or a Google Doc. The important part is that as you gather requirements and feedback, that you’re saving it all in one place. Don’t get into the nitty gritty of your product specs just yet, but instead, use the product pages as a place to list everything that you’ve learned, and any open questions that you may still have.
Step 4: Digitize the Product Wireframes
Now that you’ve slept on the rough sketch, gathered more feedback from others, and begun to spec out your budding feature, it’s time to digitize the thing. Use a wireframe software system (Like Balsamiq or Adobe XD) to kick off a digital version of your brainchild. This will make explaining your idea to others far more simple, and will also be a great next step for professional designs. As you spec out the rough wireframes and general user experience, make sure to document what is and is not necessary as you plan out your product (Aren’t you glad that you have a product page for that?). This is when I typically start itemizing some of the dev work that will be required into my more formal product specs – but remember, your final designs may change the look and feel of the thing that you’re creating, so stay away from too detailed of wireframes for now. Instead, focus on the data that you need, the system requirements, the integrated functionality, and all the other mumbo jumbo that comes along with a product.
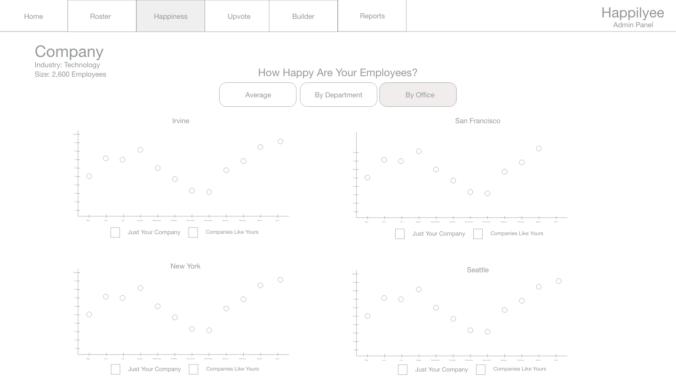
Sample Product Wireframes (#1)
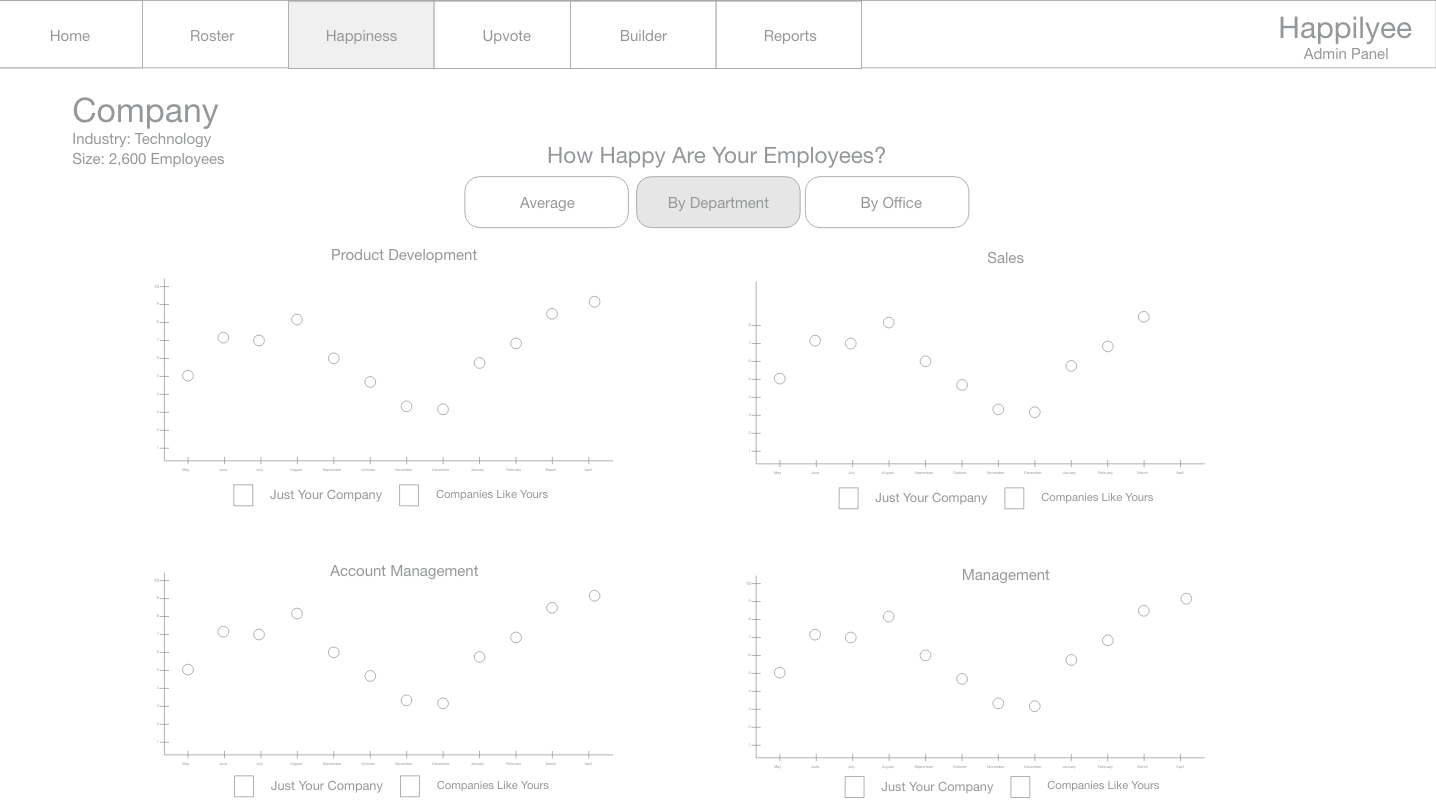
Sample Product Wireframes (#2)
Step 5: The Product Deep Dive
I won’t go into a ton of detail on the deep dive into a product kickoff, but will instead congratulate you – because you just completed the necessary steps to create product wireframes! Remember, now that you have a rough look and feel of the product, I’d again let key stakeholders review the wireframes. Just let them provide some quick feedback – and then you can send them off to design!
While the process of creating product wireframes isn’t too exhausting or too crazy, it is an essential part of any product’s development. Make sure that you perform each of the steps above. I’ve found that while it can be easier to skip some of these steps, doing so will just create pain later in your product development process. This makes the feature or product take longer to develop, leads to more unintended ‘updates’, and simple slow you down and dishearten your team. Make your mocks, get your feedback, and you’re off to the races!